BLOG & NEWS
Home
-
Blog & News
The Raspberry Pi is a small and general-purpose computer that has turned into a darling for makers, hobbyists, and professionals alike. Though the Pi can be connected to a standard HDMI monitor, using a compact TFT LCD display can be a more suitable solution for projects requiring portability or a smaller form factor. This tutorial will guide in setting up and configuring the TFT LCD for your Raspberry Pi project. Why do you want one in your system? Why is a TFT LCD ideal for your Raspberry Pi project?
Since your aim on the Raspberry Pi involves choosing a display suited to your project, the TFT LCDs come along with an enviable number of favorable factors that favor use against a conventional monitor. Why should one use a TFT LCD?
Compared to normal monitors, the TFT LCD is a lot more compact and lighter. This makes it perfect for working projects where available space is little, like a portable device or handheld projects of any sort-or DIY gadgets for that matter. Thus, in targeting a compact Raspberry Pi device with maximum use of available space while not compromising display quality, the TFT LCD happens to be that pragmatic choice that balances everything correctly.
One nice benefit with using a TFT LCD is its low power use versus older monitors. If your project runs off a battery or requires being more power efficient, this could be important to you. Most the time they will consume less power. This can then enable the all round up time of your project at the same luminosity and resolution of display without necessarily changing batteries.
Many modern TFT LCDs also include touchscreen capability that opens a world of interactive possibilities. With touchscreen capability, you could interact directly with your Raspberry Pi project: perfect for home automation systems, portable gaming devices, and interactive kiosks. As a matter of fact, this added feature increases its versatility and usability.
First of all, let’s gather everything before moving onto the setup part. Let me point out what exactly you need for your TFT LCD to work along with your Raspberry Pi.
First, select the model of Raspberry Pi. You may want to use a Raspberry Pi Zero W for smaller projects because it is compact in size and consumes less power. If the project is complex and requires more power, then Raspberry Pi 4 will be more appropriate for your work. Be sure to select a model that fits with your project’s performance requirements.
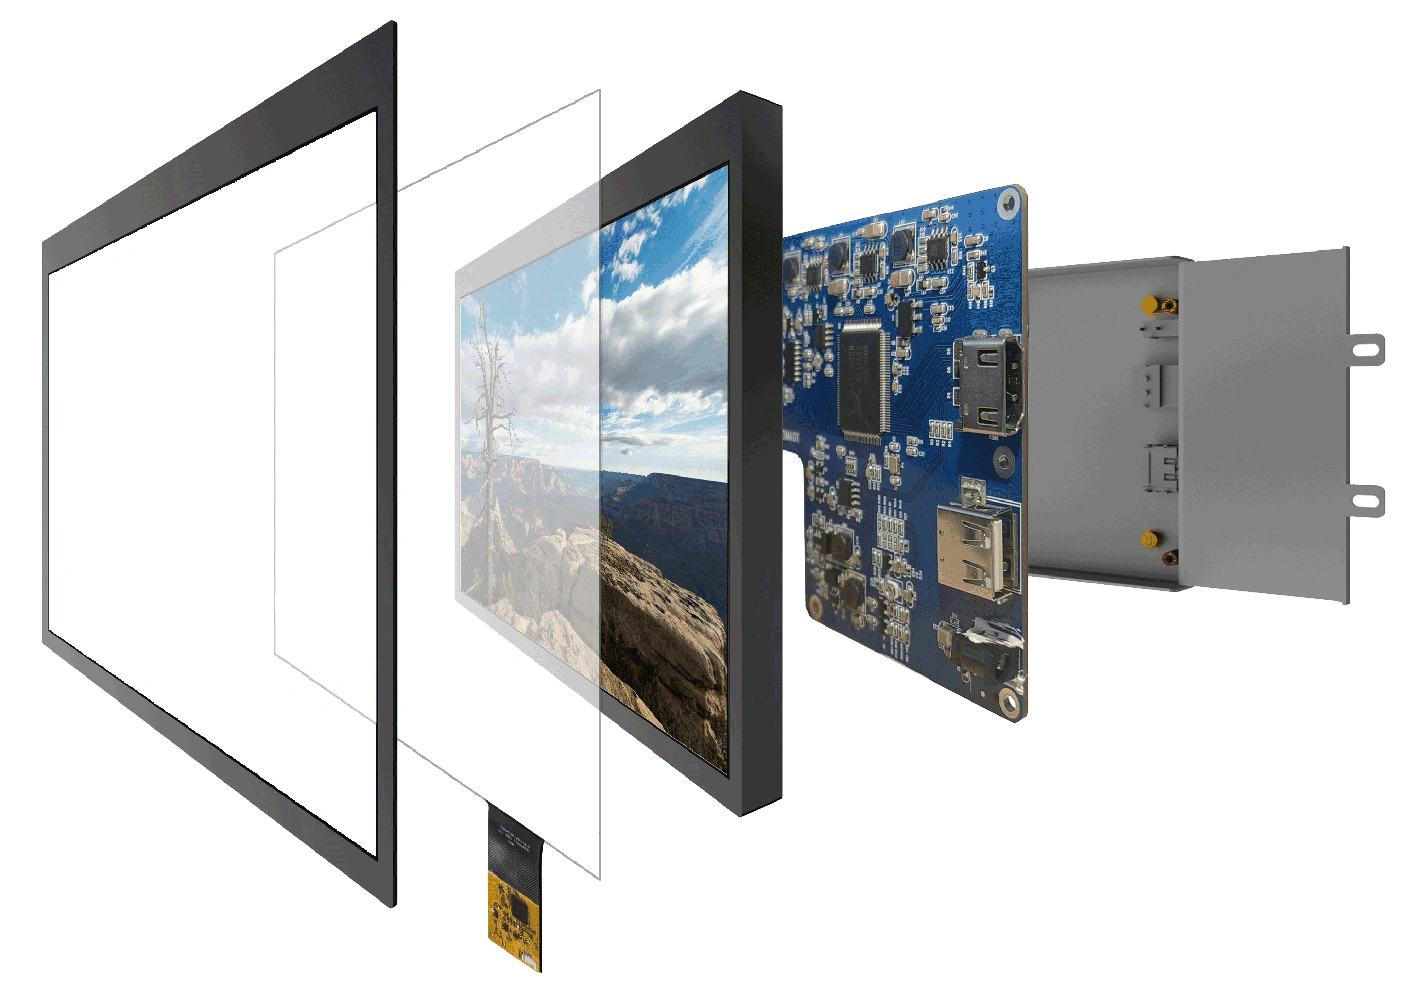
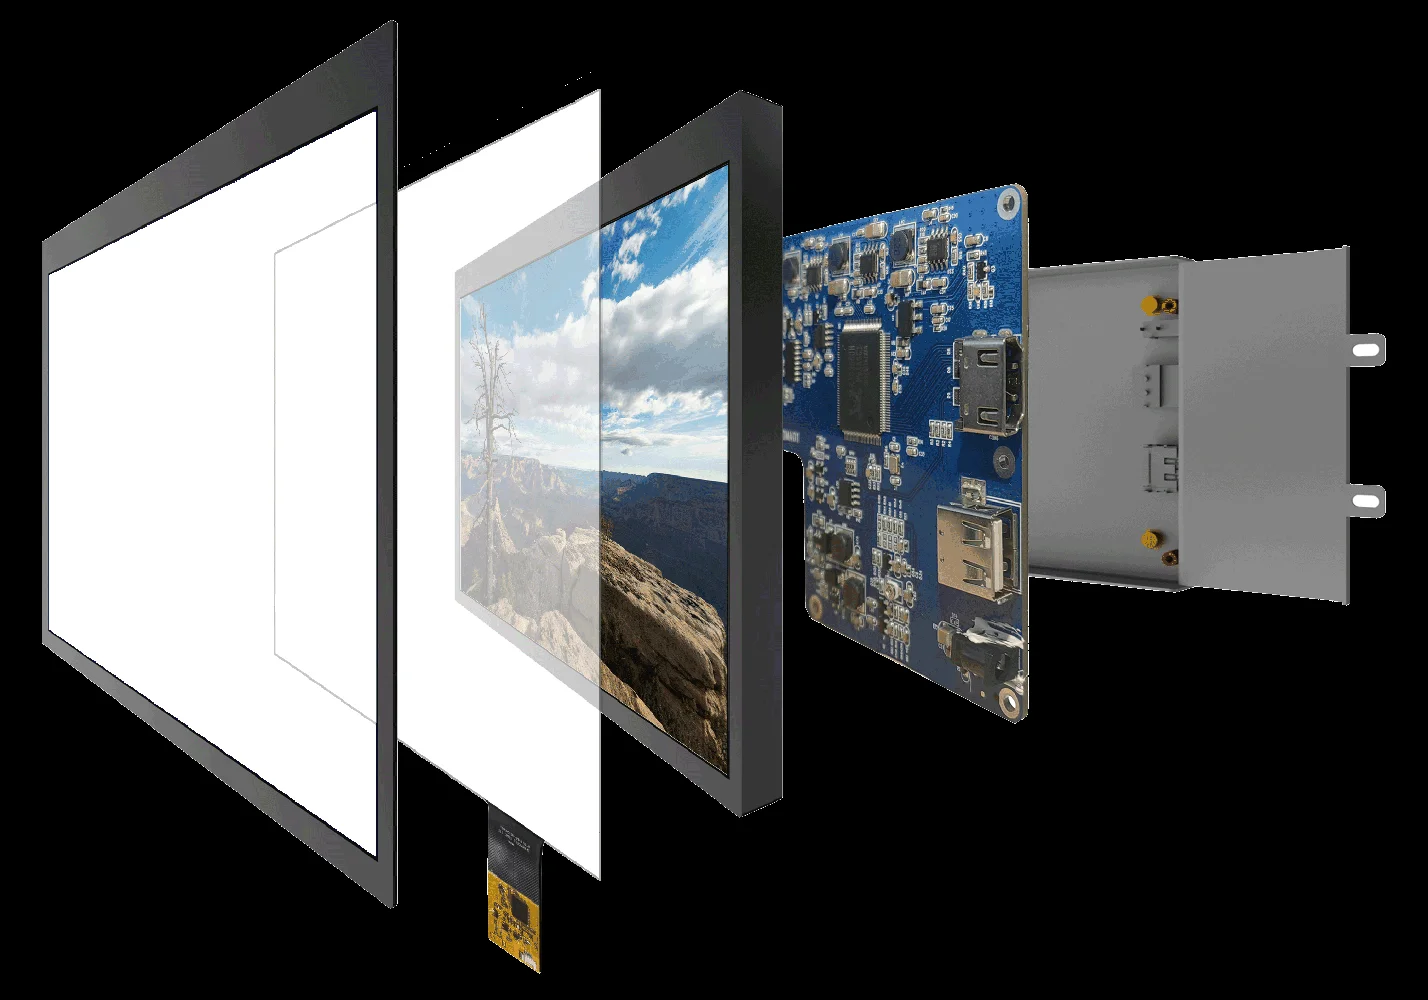
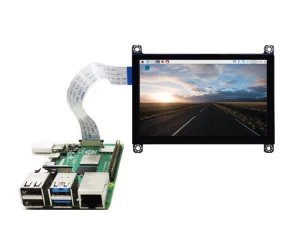
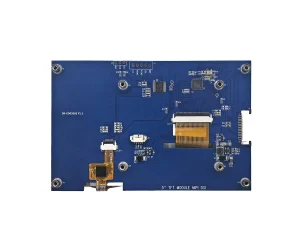
It is important to choose a TFT LCD compatible with the Raspberry Pi. Not all of the TFT displays are the same, and they require special adapters or drivers. Pay attention to the specifications about which display to buy so that it matches compatibility. Most of the time, you will see displays intended for Raspberry Pi applications, with even setup instructions being clear.
Besides the Pi, and the TFT LCD, you’ll also be needing a micro SD card with Raspberry Pi OS. Raspberry Pi OS is an officially provided and very popular operating system for Raspberry Pi; formerly Raspbian. Also, a suitable power supply for your specific Raspberry Pi model will ensure stability of operation. Finally, there are connecting cables needed to connect all these up-most of the setups require a micro HDMI cable in order to connect your Pi to an external monitor while you do the initial setup.
Now that you have everything, let’s dive into how you will set up your Raspberry Pi for said TFT LCD.
Once your Raspberry Pi is up and running, the next thing you need to do is install the drivers that will make the TFT LCD work. Here’s how you can do this:
Extract and Install the Drivers: Once the drivers are transferred to your Pi, you’ll want to extract them using the appropriate terminal commands. For example, use unzip for .zip files or tar -xvzf for .tar.gz files. After extracting, go through any provided instructions in order to install the drivers. This will typically include installation scripts to run or files that you need to copy into the right places.
Now that the drivers are installed, it is time to configure your Raspberry Pi to use the TFT LCD as the main display of the unit. This will entail editing certain system files and some tweaking in most cases to get everything just right.
Boot Configuration Files Editing: Most of the configuration files, including config.txt and cmdline.txt, will need editing depending on the model of the TFT LCD in use, coupled with the drivers in use. These are where you define the display resolution, SPI interfaces, and module display driver. For this, refer to the manufacturer’s instructions for details on what changes need to be implemented on your TFT LCD.
Touchscreen Calibration: If your TFT LCD comes with a touchscreen, then you have to calibrate it. Most often, your Raspberry Pi OS will have default tools to do the calibration. However, you might need to download additional calibration utilities from your manufacturer’s website for fine-tuning the touch.
You can find some issues while you’re setting up your TFT LCD. Let’s go ahead and explore in detail what are the issues that arise and how to troubleshoot them.
Blank Screen: If, after installation, your screen is blank, first of all check the connections-make sure everything is correctly plugged in. Power on the display. If the problem persists, then check for errors in your boot configuration files, or try to reinstall the drivers.
Unresponsive Touchscreen: In the case of a poorly responding touchscreen, it needs recalibration using the inbuilt calibration utility in Raspberry Pi OS. Even if the problem persists after calibration, there may be physical damage or obstruction to the touchscreen.
If you are looking for a high-quality TFT LCD for your Raspberry Pi project, then Kadi Display shall be considered as a trusted supplier. Because the TFT LCD is designed for the Raspberry Pi in their products and great customer support guides the customers in setup.
Expertise in Display Technology: Kadi Display brings over 20 years of experience in display technology, providing products that meet the highest quality standards. Their product range includes not only TFT LCDs but also OLED and other advanced display technologies.
Tailored Solutions: Kadi Display is dedicated to understanding your project needs, offering customized display solutions and expert guidance to help you choose the perfect display for your Raspberry Pi project
Exceptional Quality Control: Kadi Display adheres to strict quality control standards with certifications such as ISO9001 and ISO14001, ensuring that their products are both reliable and high-performing.
With a quality display like what Kadi Display builds, the best can be surely realized in the result of a given project. For a portable device, home automation, or an interactive kiosk, whatever can be made up with a TFT LCD is offering one perfect way in which this technology can complement each project.