Understanding the Basics of Raspberry Pi DSI Screens
What is a DSI Screen?
The DSI screen is a display interface specifically made to connect to devices like the Raspberry Pi to deliver top-notch visuals with high-quality resolution and refresh rates through a few signaling lanes that efficiently transmit data using signaling techniques instead of traditional methods. This feature is especially advantageous for tasks needing sharp and quick graphics display output. DSIs are frequently used in applications such as devices handheld gaming consoles, and embedded systems where saving space and conserving power are important considerations.
How Does a DSI Interface Work?
The DSI interface works by utilizing a communication protocol that helps transmit data from the source device to the display screen efficiently and effectively. With its signaling technology, DST offers a dependable connection that reduces disturbances and boosts signal quality. In Raspberry Pi setups the DSI displays are linked via a 15-pin connector, making the integration process simple and smooth. The DSI interface allows for the use of data lanes. Ranging from one to four lanes. To improve bandwidth and enable data transmission efficiency for smoother operations and enhanced data flow performance. Its design is tailored to facilitate the transfer of display data, with wiring requirements to accommodate a range of project needs and objectives.
Advantages of Using DSI Screens with Raspberry Pi
Enhanced Performance
Utilizing DSI screens with a Raspberry Pi offers a benefit in terms of performance levels it delivers—a feature that stands out significantly compared to standard display interfaces available in the market today. With DSI technology at play here enabling data transfer display interfaces do creates a noticeable improvement in the responsiveness of applications like gaming or real-time visualization scenarios. The inherent design of the interface itself works towards minimizing latency between the graphics processing unit and the display screen leading to a user experience with frame rates and fluid motion—a key advantage that users can appreciate during their usage. DSI screens prove to be a choice for Raspberry Pi projects that prioritize performance as an aspect, in their functionality and user experience enhancement endeavors.
Improved Image Quality
DSI displays are recognized for their image clarity due to their support for resolutions and color depths—a feature that shines in tasks demanding intricate graphics like user interfaces or multimedia content presentations. The color rendering performance of DSI screens is advanced. Brings forth precise colors crucial for crafting visually captivating displays. This means that Raspberry Pi projects can enjoy the precise visuals delivered by DSI screens which enhance the user interaction quality.
Reduced Latency
When DSI screens are connected to a Raspberry Pi system setup the latency is reduced significantly which benefits users by decreasing delays in transmitting data from the Raspberry Pi to the screen output display unit. This decreased latency is especially crucial in applications that involve interaction such as gaming or touch interfaces where immediate responses are necessary. Using DSI screens allows users to have a connection, with their devices leading to improved functionality and usability of their Raspberry Pi projects.
Kadi Display: A Leading Provider of Raspberry Pi DSI Screens
Over time Kadi Display has become known as a supplier of top-notch screens for a range of uses, like Raspberry Pi DSI displays by using advanced manufacturing techniques and a strong focus on quality control to meet both industry requirements and customer needs consistently high standards are maintained throughout the production process through strict quality checks such as Automated Optical Inspection (AOI) ensuring that each screen is flawless and durable. Kadi Displays dedication, to achieving standards demonstrates their recognition of the role that displays serve in contemporary electronic applications.
Integration of DSI Screens with Raspberry Pi Boards
Steps for Connecting a DSI Screen to a Raspberry Pi
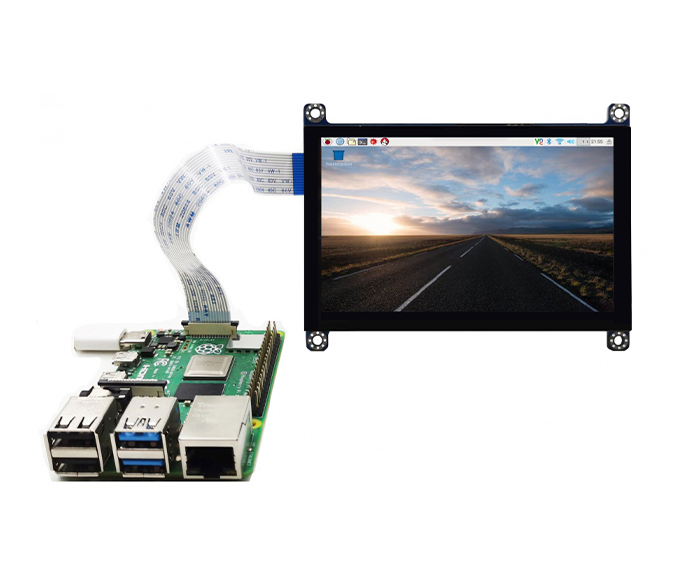
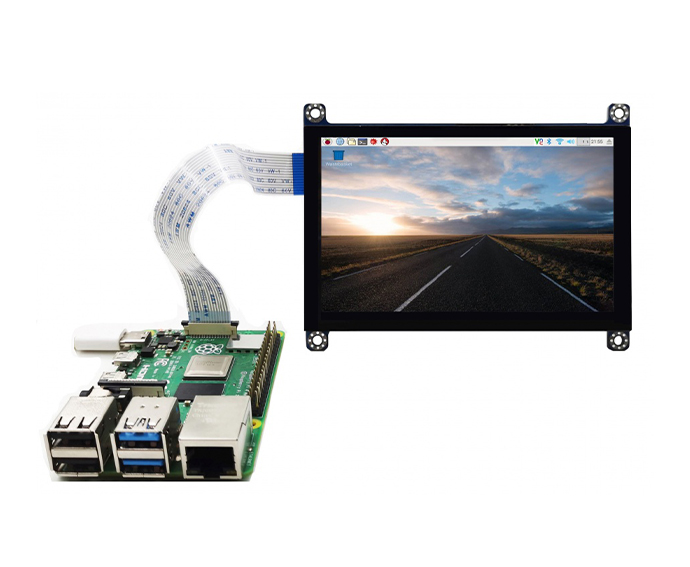
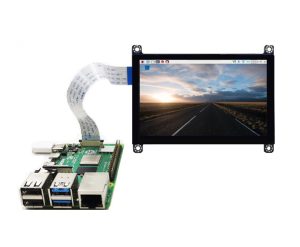
Hooking up a DSI display, to a Raspberry Pi entails steps to follow through with ease. It’s essential to ensure you have all the necessary equipment, including the Raspberry Pi, the DSI display, and the appropriate connection cables. The standard method for connecting the screen is through a connector on the Raspberry Pi board. If the display does not fit directly, you might need an adapter or an extension cable. Checking for compatibility between your chosen DSI screen and your specific Raspberry Pi model is key to ensuring everything works smoothly.
Required Hardware and Software
Before setting up a DSI display screen, for connection purposes, the crucial elements include:
- Raspberry Pi Board: Models such as the Raspberry Pi 4 and Raspberry Pi Zero W are compatible with DSI screens.
- DSI Screen: Select a DSI display that suits your project’s resolution and size requirements. Make sure to consider factors like viewing angle and color depth.
- Compatible Connectors: Depending on the specific models you are using, you may need extension cables or converters to ensure a secure connection.
- Software Drivers: Make sure you have the necessary drivers and software installed on your Raspberry Pi. This usually involves updating the operating system or installing additional packages via the terminal.
Make sure you have both the necessary hardware and software ready so that you can seamlessly incorporate the screen system into your setup, for enhanced visuals and user engagement.
Installation Process
Connecting a screen to a Raspberry Pi involves following a set of organized steps, during the setup process.
- Power Down the Raspberry Pi: Before making any connections, switch off the Raspberry Pi and unplug any power sources to avoid damage.
- Connect the DSI Screen: Align the 15-pin connector of the DSI screen with the corresponding port on the Raspberry Pi. Carefully insert the connector to avoid unnecessary strain or damage.
- Secure the Connection: Depending on the design of the connector, ensure that it is firmly in place. This may involve applying light pressure or sliding a locking mechanism into position.
- Power Up the Raspberry Pi: Once the screen is connected, reconnect the power source and turn on the Raspberry Pi. Monitor the boot-up process, and ensure that the DSI screen displays the boot sequence appropriately.
If the screen starts up successfully, you’ll be prompted to adjust the display settings to ensure the user experience.
Optimizing the Use of Raspberry Pi DSI Screens
Best Practices for Configuration
To get the most out of DSI screens when using Raspberry Pi devices, it’s important to follow guidelines during setup.
- Resolution Settings: Ensure the display settings match the native resolution of the DSI screen to prevent distortion and ensure clarity. Mismatched settings can cause a washed-out or pixelated appearance that undermines the display’s capabilities.
- Color Calibration: Properly calibrate the color settings using tools in Raspberry Pi OS. Accurate color representation enhances the visual experience, especially for graphic projects.
- Refresh Rate Adjustments: Adjusting the refresh rate can significantly affect the display’s responsiveness, depending on the use case. It’s important to find an optimal setting that balances performance with visual quality, particularly for applications that require high refresh rates, such as gaming or dynamic visual displays.
- Operational Environment: Consider the operational environment where the Raspberry Pi and DSI screen will be used. The display should be set in environments with controlled lighting to maximize visibility and reduce glare, ensuring that the viewing experience remains consistent.
By following these setup methods you can boost the performance and user experience of the display system.
Enhancing User Experience
Incorporating screens into Raspberry Pi projects requires consideration of user experience as a key factor.
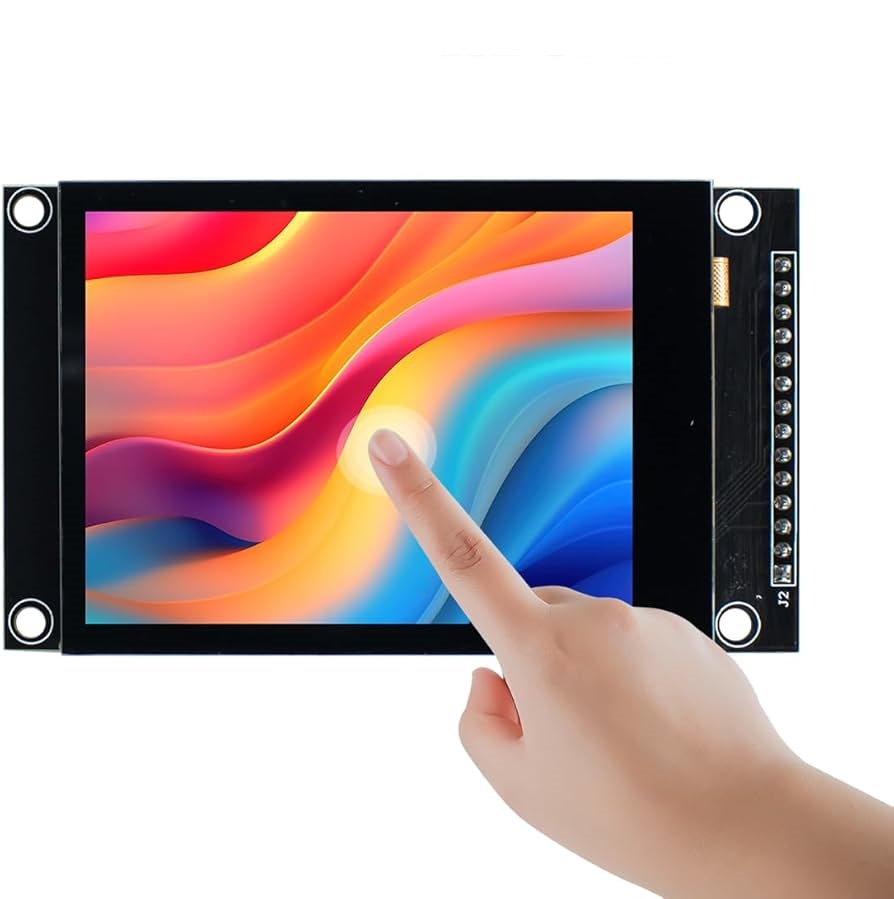
- Touch Capabilities: If the DSI screen features touch capabilities, ensure that interaction responsiveness remains high. This could involve installing additional drivers or configuration services to maintain touch sensitivity and accuracy. Dynamic touch interaction adds significant value to applications requiring user engagement.
- User Interface Design: The design of graphical user interfaces (GUIs) should be user-friendly, intuitive, and optimized for the DSI screen’s capabilities. Utilization of appropriate fonts, colors, and structures will significantly improve users’ interaction with the DSI screen.
- Performance Monitoring: Incorporate performance monitoring tools to keep an eye on how well the DSI screen is functioning with the Raspberry Pi. Tools can analyze latency and responsiveness metrics, providing feedback on any adjustments needed to maintain peak performance.
- Feedback Mechanism: Including a feedback mechanism within your application can greatly enhance user satisfaction. Collecting user insights can help refine the display functionality and interface over time, adapting to their needs and preferences more effectively.
By focusing on these elements of user experience programmers can craft effective and top-notch apps that make the most of Raspberry Pi DSI displays enhancing overall engagement and visual attractiveness, to the maximum extent possible.
Latest Blog & News
- How VCOM & VGL Voltages Impact LCD Afterimage: A Technical Deep Dive
- Capacitive vs. Resistive Touch Screens: A Complete Guide to Differences, Advantages, and Applications
- How Does a Reflective LCD Display Work? A Comprehensive Guide
- What Causes Lines in LCD Display Modules? (And How to Fix Them)
- What is the difference between Edge-Lit and Full-Array Local Dimming?


-300x250.jpg)

